GROUP WORK
EXPLORING MATERIALS
Exploring the whole range of new items is really fun since I'm all new to this experience of building something or playing and getting in touch with the feel of the materials is a really interesting experience. There's an indescribable joy in the tactile experience of Lego Technic, Fisher-Technik, cardboard, paper, and totem. The interlocking Lego pieces, the satisfying click as gears mesh in Fisher-Technik creations, the versatility of molding cardboard into new shapes, the soft rustle of flipping through sheets of paper, and the grounding solidity of totem materials all created a sense of wonder and creativity. Each material holds its own unique potential, inviting exploration and experimentation. From the structured precision of plastic blocks to the organic flexibility of paper, each texture ignites the imagination, providing a canvas for innovation and expression. It's a tactile symphony of creativity, where every touch and feel sparks inspiration and possibility.
Some materials didn't seem quite interesting as they are complicated in structure and also need a basic knowledge of how to use mechanical tools.
Lastly, we have made a robot that moves its both of its hands and also a mini car that moves which you can see the video in.


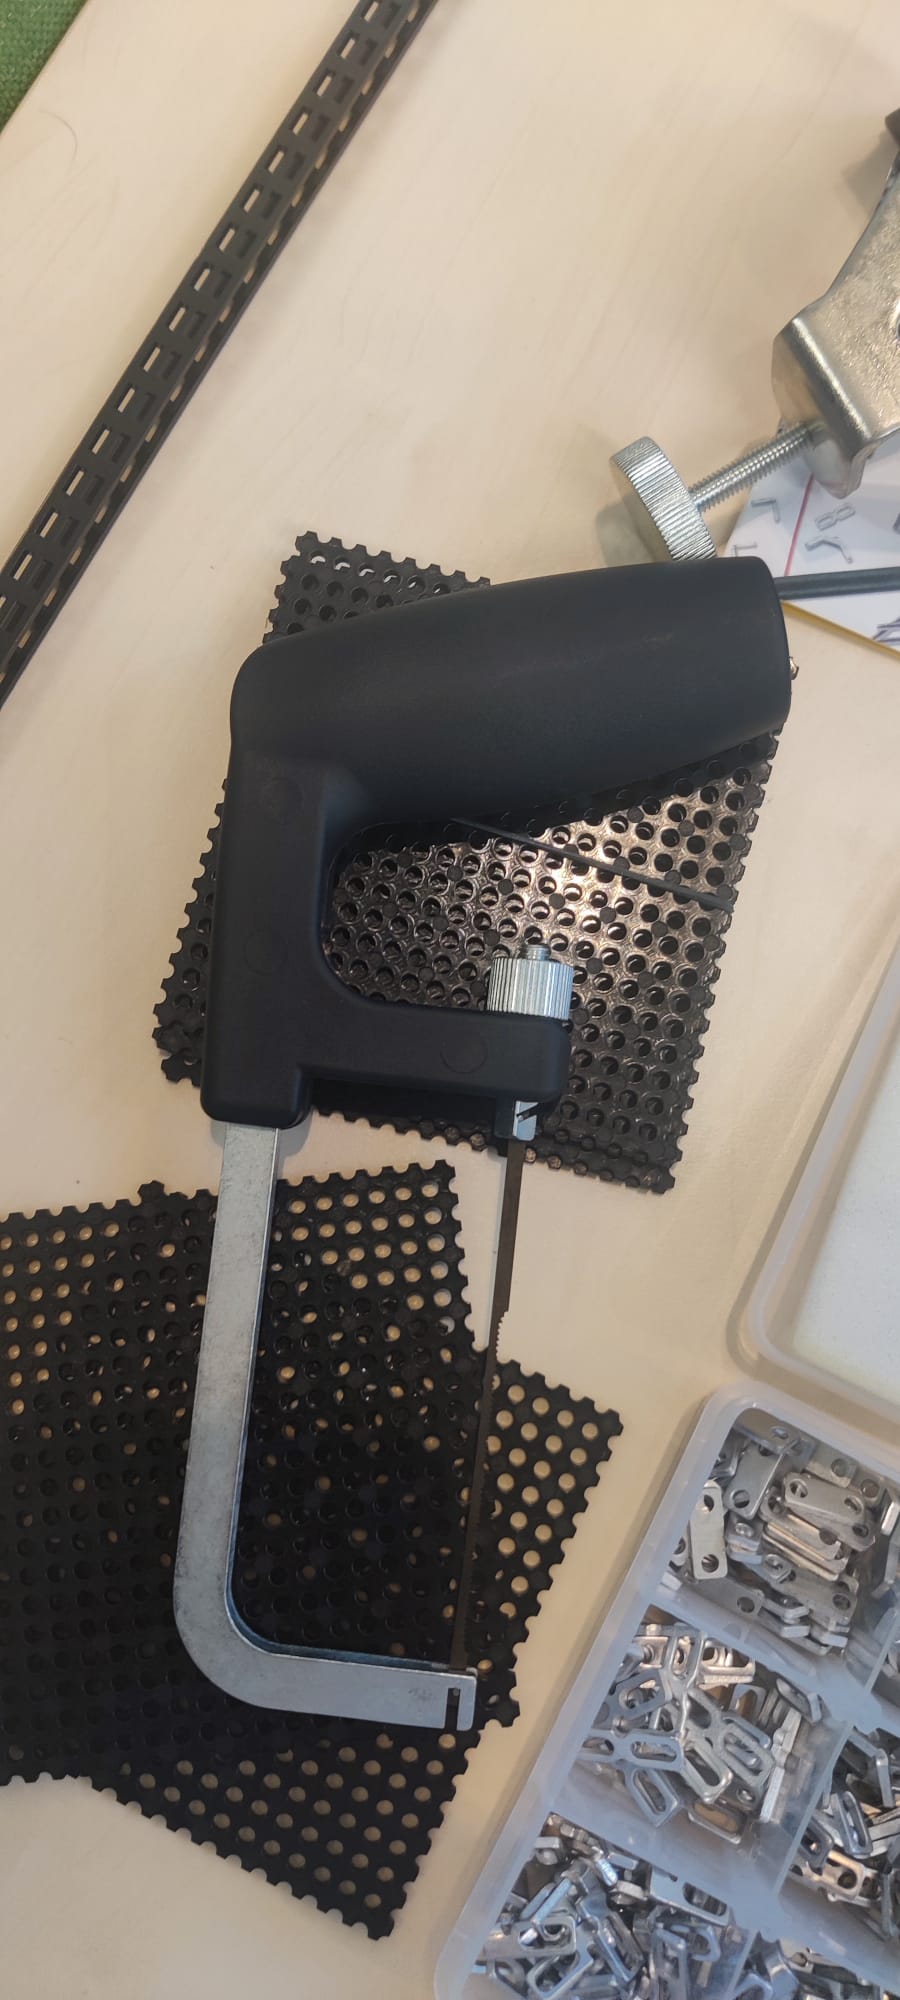
The below is one of the experiences we had as a group where it shows that tinkering always starts messily and it definitely is a good start.

---------------------------------------------------------------------------------------------------------------------------------------------------------------------------------------------------
Coming Up With an Idea :
Our team:
1. Marta Devesa Cabrera
2. Blanca Alonso De Las Heras
3. Jhansi naga indusri Kunapareddy
4. Just Baselmans
5. Niels Kadijk


Step 1 Step 2 Step 3
Step 1:
- We are working on brainstorming the ideas in the step up where we are using this tool to expand the idea that you initially have work with various unique and apt challenges, and also discover the processes.
- The basic idea is to get the motivation, what kind of materials are you using to fulfill your motivation, and a way to put it all together.
- Take all the above things into consideration and start with the procedure.
Step 2 and Step 3:
- The group functioned as a strong match despite of different backgrounds, effectively building upon each other's ideas.
- Brainstorming with sticky notes facilitated the generation of multiple ideas, including the concept of constructing bridges.
- Although this idea remained somewhat vague initially, it will be elaborated upon in the next sessions, focusing on exploring different materials and sculpting techniques.
---------------------------------------------------------------------------------------------------------------------------------------------------------------------------------------------------
After exploring all the ideas that we had, we have chosen to implement the building bridges idea.
In this, we would offer challenges to complete the puzzle and possible tasks in the defined playground. the playground can be anything but we chose the "University of Twente" outline map as the reference. the point of all these challenges is to learn about the specific tools regarding laser cutting. mainly focusing on the choosing of the materials and what type of materials are chosen for what usage?. we chose laser cutting since it's easy to show the results compared to other methods. it helped the others to look at the laser cutting and actually learn about it in a fun way. it also helps to document what kind of method is used to overcome the challenges that have been created.


After the group discussions, certain conclusions were made. They are listed below are some of the fixations about how the game works.
Method: Hands-on Group work
Type: Game
Scope: Minimum knowledge of laser cutting
Members in group: 4
No.of groups: 4
Goals: getting knowledge of material properties and laser-cutting techniques
Popular materials: cardboard, wood, cork, foam etc
Additional materials: flashcards, user guides, tips, glues, screws, pins, etc.
Tools: Laser cutter, design software, measuring tools, etc.
Estimated Time required: 4 -5 hrs
Support: 1 facilitator, 2 technical support

---------------------------------------------------------------------------------------------------------------------------------------------------------------------------------------------------
DEMO SESSION:
From our last session and based on the feedback we have reduced the size of the board to small one. As you can see below. The yellow color rectangle box shows the new version of the board compared to the old version.

- It helps the people who are playing the game in a very effective manner, just like a board game.
- Also, gives the idea of the space that they are working with perfectly by introducing the constraints of the size in the gameplay.
- We have conducted a demo game to see how everything works in real-time when actually the peers are playing and learning the laser cutting techniques and material properties.
- We have formed a group of 3 and worked on mainly the 3 challenges, which are building a tower, building a bridge, and building a festival tent.
Below are the 3 worked challenges :
for all the challenges the tolerances are used or just exact measurements are used to connect. No glue is used to stick them. So, that is also one of the rules of the game.
Challenge 1: Building a bridge - the blue box indicates building the bridge, where it wasn't successfully done. the problem caused by the measurement as you can see only half of the bridge is done. but the choice of the material is done right.
Challenge 2: Building the tower taller than the existing one - the red box indicates this, which was successfully done by choosing a hexagon shape with multiple pillars for stability. This challenge is successfully done.
Challenge 3: Building a festival tent - since the tent has to be flexible material and for the stable part where we have to connect the tenet we have chosen the single pillar kind of one that fits well with the lock kind of system as you can see in the picture. We have chosen is flexible as well and it was successfully done.


OUTCOME:
The final outcome of the session is that challenge 1 is failed and challenges 2 and 3 are successfully done.


Tolerances

Flex 1 to Flex 8 - Patterns ( to choose the flexibility of the segments that you wanna design)
REFLECTION:
- We also reflected that the players should be careful and aware of the tolerances usage.
- Challenge 2 is easier than Challenge 1 so we decided to swap those both because of the difficulty level and also that the experience of building the tower is used in building the bridge.
- I felt that the knowledge that I gained from Challenge 1 made me more fascinated with the whole game.
- So, we changed the order of where building the tower is the first challenge, building the bride the second one, and the final one is building the festival tent.
- We also decided to add some details to the map and also to add the colors
---------------------------------------------------------------------------------------------------------------------------------------------------------------------------------------------------
Final Findings:
The entire experience of the project is such an experience with was mostly the iterative process that made us revolve around the circle of iterations which led to the successful completion of the project. Below is a creative way of showcasing the process that we have gone through.


In the final demo sessions in the class, for testing our project we have given a task for fellow students to recreate and design a hat for the Head which is present in front of our UT campus. Also, below is the output map after making all the necessary changes that has been mentioned above.

The above is the work area during the final demo session in the class while presenting the Final design map.


The left picture shows the initial drawings of the head and the right shows the final output after the laser cutting.

The above shows the best-designed hat by one of our fellow students which showcases the game that we designed in recreating the map in learning the laser cutting actually falls into place.


The above is the final colorful map along with the necessary tools and materials for the "Shaping the Campus" project.
PERSONAL REFLECTION:
Reflecting on the experience of shaping the campus has been a riding a roller coaster, filled with exhilarating highs and lows. Engaging in this project has been a journey made by constant tinkering, along with boundless energy and the collaborative spirit of my team. From the start, As we dug into the tasks of updating campus spaces, each day displayed a new set of challenges and openings. As I stepped into an unfamiliar domain, it brought a new set of challenges every time but also I learned to handle them effectively. Group collaboration helped me to sharpen my thoughts, refining them into substantial concepts. Each part brought a one-of-a-kind point of view to the table, improving our discourses and moving us forward. One of the main challenges that I faced and also an important learning curve for me was learning the basics of laser cutting Getting in touch with the Inscape software helped me gain confidence with the interface better and get to learn things better. Along with the guidance of my peers, I gained the necessary knowledge regarding laser cutting techniques.Maybe the foremost significant lesson gathered from this encounter was the significance of stepping out of my comfort zone. In going up against new challenges, I found stores of strength and flexibility inside myself.
Comments
Post a Comment